Develop with Remix IDE
Remix is an online integrated development environment (IDE) that lets you quickly develop and deploy smart contracts. If you’re new to smart contract development, it’s a great tool to start with — no local setup required.
Remix also includes a built-in blockchain simulation for fast deployment and testing. This simulation runs only in your browser, so it cannot be shared with others or connected to external tools or frontends. However, Remix also allows you to deploy contracts to various testnets, enabling you to make your contracts public and share them with others.
Remix development environment
Open your browser and go to remix.ethereum.org. Explore the tips as you click through, then take a look at the editor — you’ll see a familiar interface.
Editor Window
When Remix first loads, you’ll see the Home screen. It contains news, helpful links, and other resources. After closing the Home tab, navigate to the default_workspace/contracts folder and open the 1_Storage.sol file to see it in the editor view.
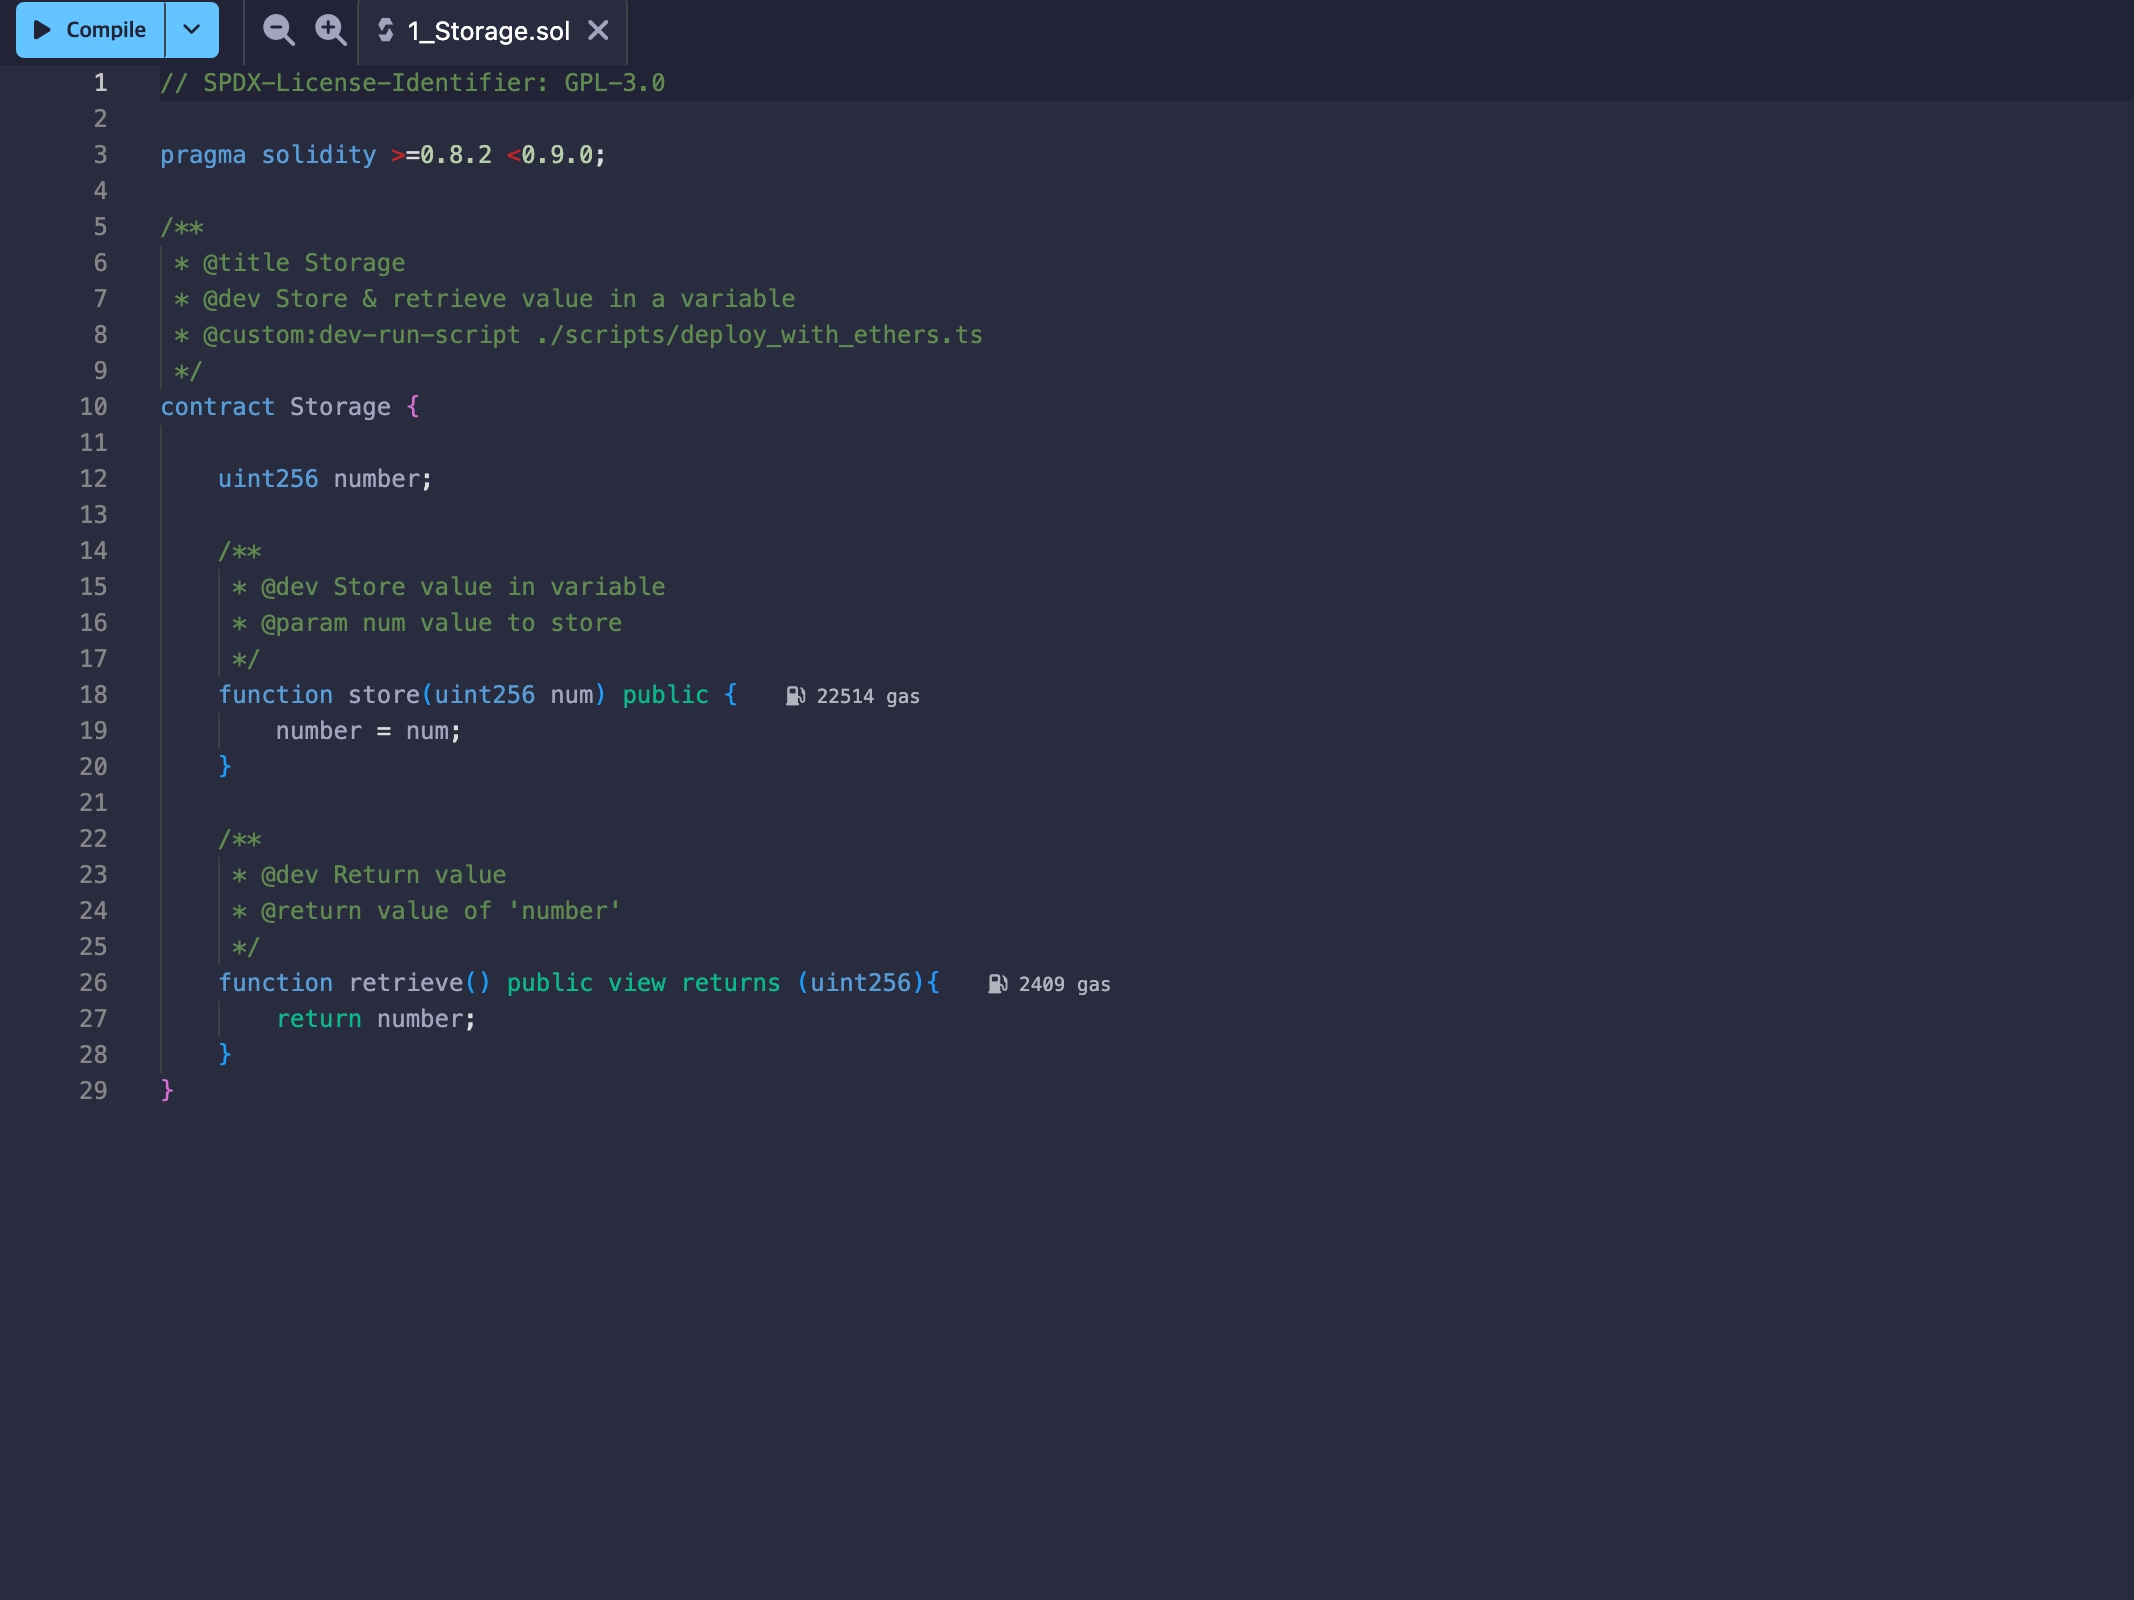
In the editor window, you can modify your code with syntax highlighting and error detection. Errors are underlined and also marked with a ❗ next to the line number.
At the top of the editor, you’ll find the Compile button. Use it to compile your Solidity code — but note that it does not execute the contract. To run the code, you must first deploy it to the blockchain.
Left Panel
On the far left, Remix provides a vertical panel similar to many other editors. This panel allows you to switch between different tools and features, browse the files in your current workspace, create or switch workspaces, search your code, and access a wide range of plugins.
Plugins
Most of Remix’s functionality is provided through plugins, and the most commonly used ones are enabled by default. You can manage plugins or add new ones by clicking the Plugins button at the bottom left of the screen.
Solidity Compiler
Next, we have the Solidity Compiler plugin, which is provided by default. Here you can select the Solidity compiler version and configure optimization options. Use the Compile button to compile your code, or the Compile and Run script button to run a script.
If errors occur, the full error text will be displayed. Try adding a typo in 1_Storage.sol to test it out.
Deploy & Run transactions
The Deploy & Run Transactions plugin is used to deploy and interact with smart contracts. Here, you can select the VM, generate a test wallet with test ETH, and use the menu to deploy and test your contracts.
If you added a typo in 1_Storage.sol, fix the error and click the orange Deploy button. In the Deployed Contracts tab, you’ll see your deployed contract listed as STORAGE AT <address>.
Deploy to the GIWA testnet
To deploy a contract from Remix, you’ll need a browser wallet like MetaMask installed.
Once everything is ready, you can now deploy the Storage contract!
Select environment
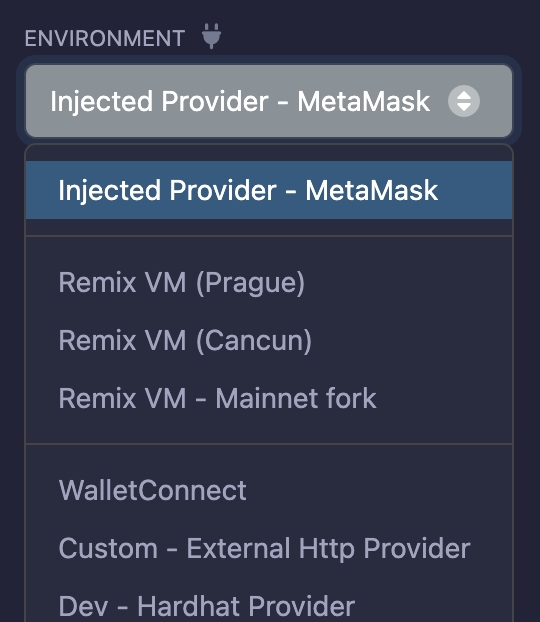
Open the Deploy & Run Transaction tab. Select Injected Provider under Environment. You should see MetaMask or other active wallets.
The first time you do this, your wallet will ask whether you want to connect this dApp (Remix) to your wallet. Once connected, the network name will appear below the environment dropdown.
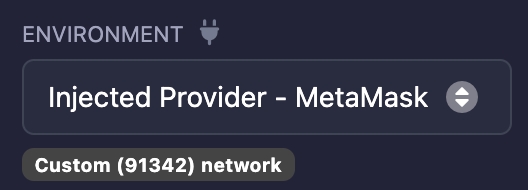
If you are connected to the GIWA Sepolia Testnet, it should display as Custom (91342) network. If you see something different, switch the active network in your wallet.
Deploy the contract
Click the orange Deploy button. Your wallet will ask you to review and confirm the transaction, since deploying a contract requires gas fees.

Always review every transaction carefully — double-check the gas costs, the assets being transferred, and the network you are connected to. It’s a good habit to inspect transactions thoroughly before clicking 'Confirm'.
After confirming, return to Remix and wait for the deployment to complete. Once it’s done, the address shown below will be the contract address you just deployed.
You can visit https://sepolia-explorer.giwa.io/ to check whether the contract has been successfully deployed at the given address.
Verifying the contract code
You can interact with the contract deployed through Remix, or — as in the previous guide — directly through the Explorer. Paste the deployed contract address to locate your smart contract.
On the contract page, you can view the balance, contract details, and the full transaction history.
Click the 'Contract' tab in the main panel. If the contract is not yet verified, you’ll see a Verify & Publish button.
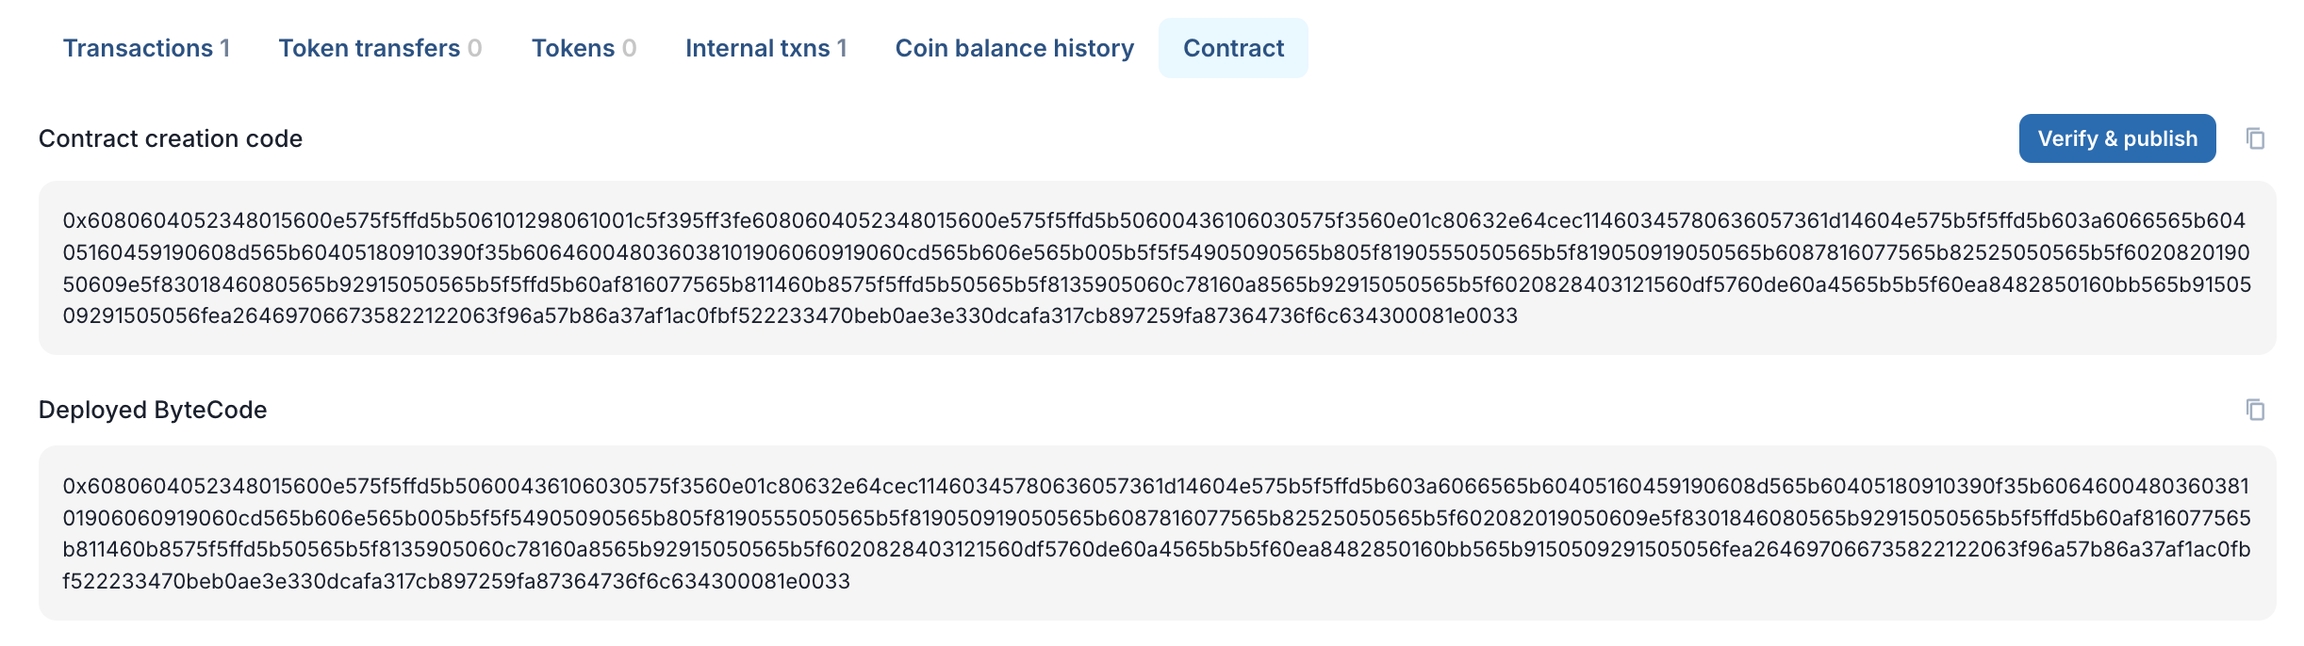
Contract verification maps function and variable names to the compiled bytecode to create a human-readable interface, enabling interaction with the contract.
In the Contract License field, select the open-source license that matches the SPDX-License-Identifier in your contract. If you used UNLICENSED (the Solidity default), select 'None'.
In the Verification method field, choose Solidity (Single File).
In the Compiler field, select the compiler version that matches the pragma at the top of your source file. In this example, use v0.8.30+commit.73712a01. For this tutorial, the optimizer is disabled by default, so leave Optimization enabled unchecked.
Finally, paste the full contract code that you deployed.
Once everything is filled in, click Verify & Publish. If successful, you’ll be redirected back to the contract address page, where you’ll see not only your verified code but also an interactive interface with Read/Write Contract functions.

Last updated